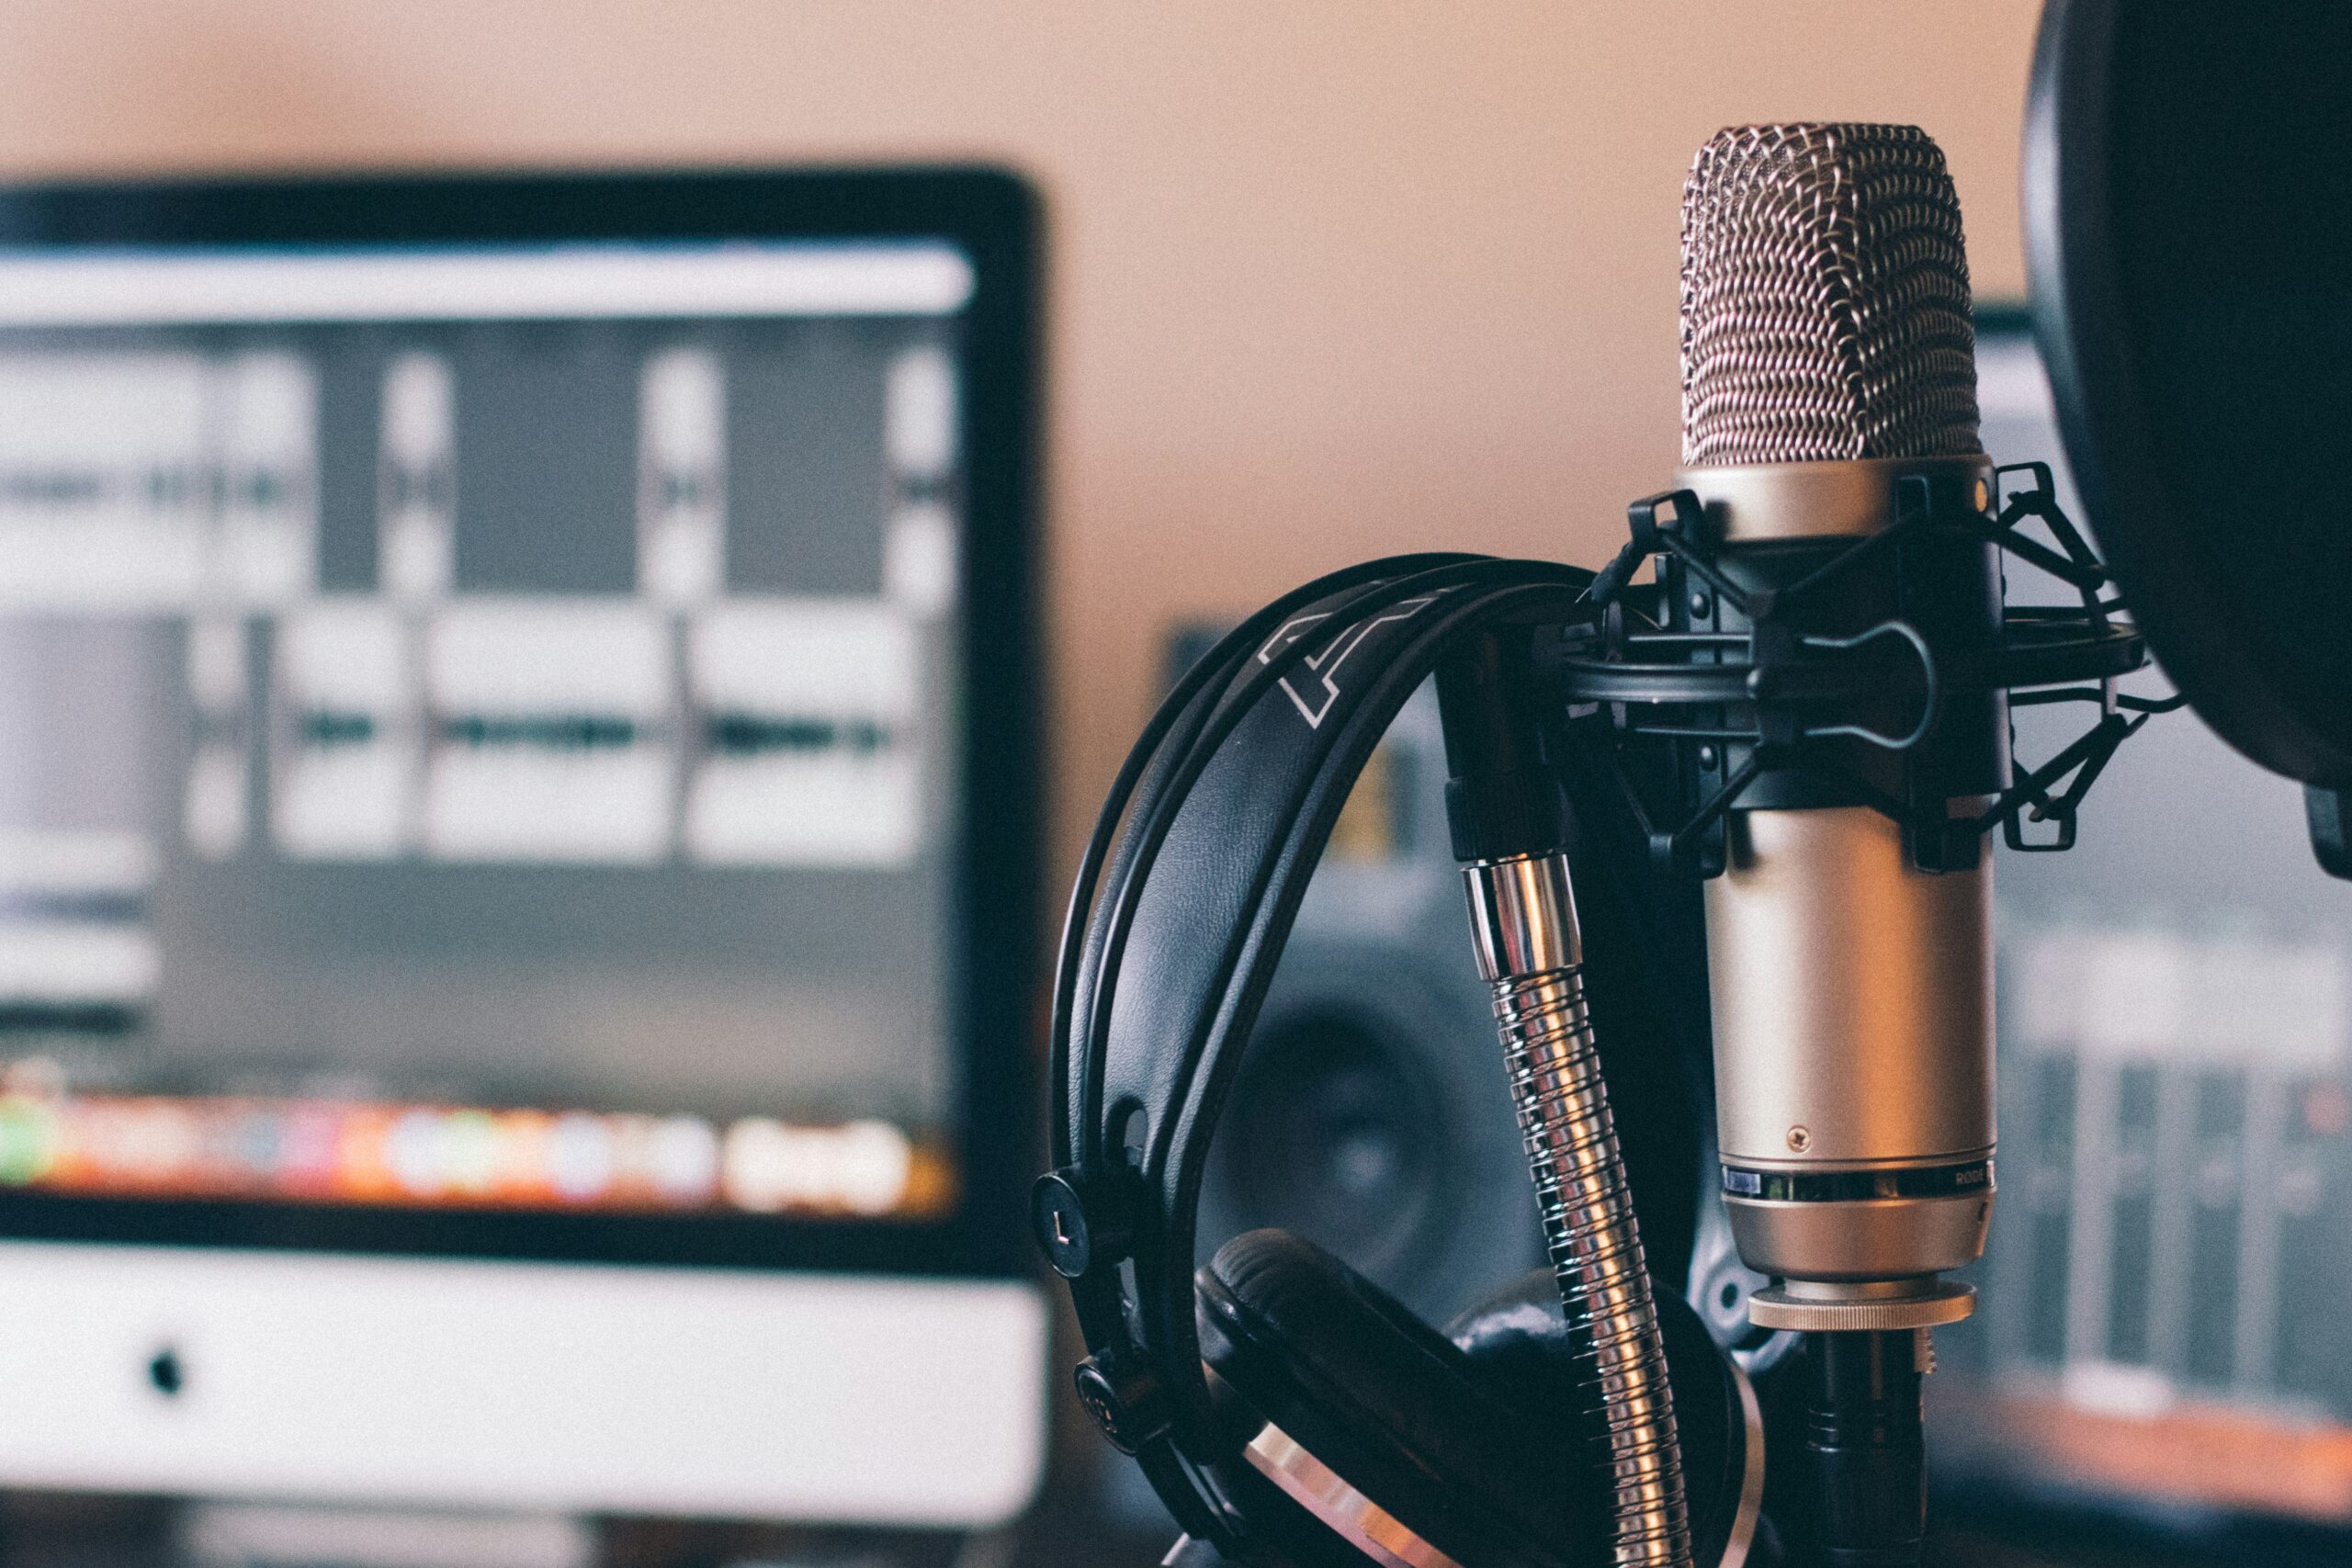
Podcasting emerged as a powerful tool for political communication and voter engagement during the 2024 election cycle. Both President-elect Donald Trump and Vice President Kamala Harris utilized podcasts extensively to reach their supporters and drive voter turnout. As more individuals and organizations explore ways to incorporate podcasting into their outreach strategies, the demand for high-quality audio content continues to grow.
Previously, I highlighted that everyone should become a content creator and I think now is the perfect time to create your first podcast! While I won’t claim to be an expert audio engineer or podcast producer, I have produced several podcasts over the years. Through trial and error, I learned valuable lessons about creating compelling audio content. I aim to share my practical tips and insights below, which I hope will be helpful for anyone starting their podcasting journey.
These are my suggestions for starting a solid podcast for a few hundred dollars. You may find other methods that work better for you.
General Podcasting Tips
- Recording Environment: Ensure you’re recording in a quiet environment with minimal background noise to reduce the need for extensive editing.
- Microphone Techniques: Use a good quality microphone and speak clearly into it. Maintain a consistent distance from the microphone to avoid volume fluctuations.
- Script and Planning: Have a clear outline or script for your podcast to stay organized and focused during recording.
Understanding Technical Terms
- Compression: Reduces the volume of loud sounds and amplifies quieter sounds to create a more uniform audio level.
- Normalization: Adjusts the overall volume level of the audio track to meet a specified peak volume target.
- EQ (Equalization): Adjusts the balance between different frequencies in an audio track to enhance clarity and quality.
Equipment
- Zoom P4 PodTrak (roughly $150): A compact audio recorder designed specifically for podcasters. It allows you to record multiple microphones, add sound effects, and even connect with guests remotely. Its user-friendly interface and high-quality sound make it a valuable tool for podcasters.
- Zoom ZDM-1 Mics (starter pack is roughly $70)
- Audacity (free): A free digital audio workstation (DAW) software that allows you to record, edit, and produce your podcast. Its user-friendly interface makes it a great choice for both beginners and more experienced podcasters.
- Blue Yeti X microphone (roughly $95)
Step-by-Step Guide to Polishing Up Your Podcast in Audacity
1. Import Your Audio
- Open Audacity and import your audio file (File > Import > Audio or drag and drop your file into the interface).
2. Trimming & Cleaning
- Use the Selection Tool to remove any unwanted parts at the beginning or end of the recording.
- Listen to the entire audio to identify and delete long pauses, filler words, or mistakes.
3. Noise Reduction
- If there’s background noise, use Audacity’s Noise Reduction feature:
- Highlight a few seconds of pure background noise.
- Go to Effect > Noise Reduction > Get Noise Profile.
- Select the entire track, then return to Effect > Noise Reduction.
4. Equalization (Optional)
- Use EQ to enhance or balance the frequency of the voice:
- Go to Effect > Graphic EQ.
- Boost the low-mid frequencies (around 100-300 Hz) for warmth and clarity.
- Reduce any overly harsh high frequencies (around 5-10 kHz) if needed.
5. Compression
- Compression evens out the volume levels, making your podcast sound more professional:
- Go to Effect > Compressor.
- Start with the factory presents and use something like “Podcast/Radio.”
- As you get more comfortable, you can start making more granular adjustments.
- Click OK and listen to see if the vocals sound more consistent.
6. Normalization
- Normalizing ensures the entire track hits a peak volume target:
- Go to Effect > Normalize.
- Set the peak amplitude to around -1.0 dB for podcasting.
- Try other settings if it doesn’t sound right to you. I fluctuate between -1.0 dB and -5.0 dB.
- Check Remove DC Offset (if available) and click OK.
7. Amplification
- Amplify the volume if it’s too low or to match your preferred loudness:
- Go to Effect > Amplify.
- Adjust the slider to increase or decrease volume, ensuring it doesn’t clip (exceed 0 dB).
8. De-Esser (Optional)
- If ‘s’ sounds are harsh, use a de-esser plugin:
- Install the “Spitfish” plugin for Audacity.
- Apply it to reduce sibilance in your audio.
- Sibilance is a hissing sound that often occurs in speech. Imagine the sound of a snake hissing. It can be a bit annoying or distracting in recordings.
9. Fades
- Add fade-ins or fade-outs at the beginning or end for a smooth entry/exit:
- Highlight the area, then go to Effect > Fade In or Fade Out.
10. Final Listening
- Listen to the entire episode from start to finish with headphones to catch any remaining issues.
- Use Spectrogram View to visually check for any unevenness in the audio.
11. Export
- Go to File > Export and choose the format (e.g., MP3 or WAV).
- For MP3, use a bitrate of 128 kbps (good quality for spoken word) or higher if you prefer.

